Configurando a área de jogo
Nesta primeira parte, vamos configurar a área de jogo. Vamos começar importando os assets iniciais e configurando a cena do jogo.
We've prepared a Godot project with the 3D models and sounds we'll use for this tutorial, linked in the index page. If you haven't done so yet, you can download the archive here: Squash the Creeps assets.
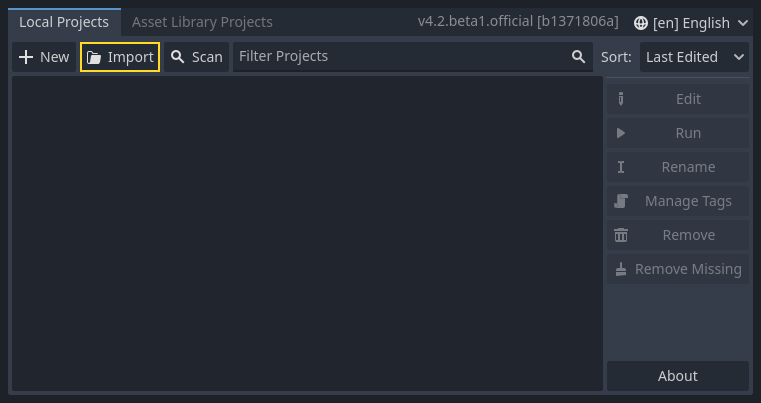
Depois de baixá-lo, extraia o arquivo .zip em seu computador. Abra o Gerenciador de Projetos do Godot e clique no botão Importar.
In the import popup, enter the full path to the freshly created directory
3d_squash_the_creeps_starter/. You can click the Browse button on the right to
open a file browser and navigate to the project.godot file the folder
contains.

Click Import to open the project in the editor.

A window notifying you that the project was generated by an older Godot version may appear. Click OK to convert the project to your current Godot version.

Se não abrir imediatamente, abra o projeto a partir da sua lista de projetos.
O projeto inicial contém um ícone e duas pastas: art/ e fonts/. Lá, você encontrará os recursos de arte e música que usaremos no jogo.

Existem dois modelos 3D, player.glb e mob.glb, alguns materiais que pertencem a esses modelos e uma faixa de música.
Configurando a área jogável
We're going to create our main scene with a plain Node as its root. In the
Scene dock, click the Add Child Node button represented by a "+" icon in the
top-left and double-click on Node. Name the node Main. An alternate method to rename the node is to right-click on Node and choose Rename (or F2). Alternatively, to add
a node to the scene, you can press Ctrl + A (Cmd + A on macOS).

Save the scene as main.tscn by pressing Ctrl + S (Cmd + S on macOS).
Começaremos adicionando um chão que impedirá que os personagens caiam. Para criar colisores estáticos como chão, paredes ou tetos, você pode usar nós StaticBody3D. Eles exigem nós CollisionShape3D como filho para definir a área de colisão. Com o nó Main` selecionado, adicione um nó :ref:`StaticBody3D <class_StaticBody3D>`, então um :ref:`CollisionShape3D <class_CollisionShape3D>`. Renomei o :ref:`StaticBody3D <class_StaticBody3D>` para ``Ground.
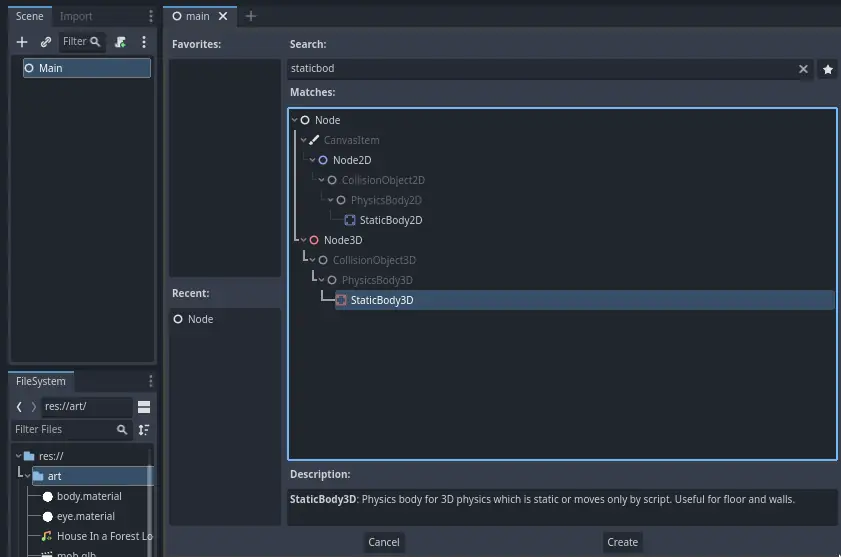
A tua árvore de cena deve parecer assim

Um sinal de aviso ao lado do CollisionShape3D aparece porque não definiu sua forma. Se você clicar no ícone, um popup aparece para lhe dar mais informações.

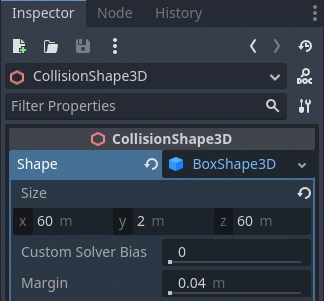
Para criar uma forma, selecione o nó CollisionShape3D , vá para o Inspector e clique no campo <empty> ao lado da propriedade Shape. Crie um novo BoxShape3D.

A forma de caixa é perfeita para terrenos planos e paredes. Sua espessura o torna confiável para bloquear até mesmo objetos em movimento rápido.
A box's wireframe appears in the viewport with three orange dots. You can click
and drag these to edit the shape's extents interactively. We can also precisely
set the size in the inspector. Click on the BoxShape3D to expand the resource.
Set its Size to 60 on the X-axis, 2 for the Y-axis, and 60 for
the Z-axis.
Formas de colisão são invisíveis. Precisamos adicionar um chão visual que o acompanhe. Selecione o nó Ground e adicione um MeshInstance3D como seu filho.

No Inspector, clique no campo ao lado de Mesh e crie um recurso BoxMesh para criar um cubo visível.
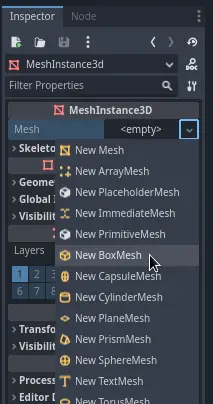
Mais uma vez, é muito pequeno por padrão. Clique no ícone da caixa para expandir o recurso e definir o seu Size para 60`, ``2, e 60`.

Você deve ver uma ampla placa cinza que cobre a grade e os eixos azul e vermelho na janela de visualização.
We're going to move the ground down so we can see the floor grid. To do this, the grid snapping feature can be used. Grid snapping can be activated 2 ways in the 3D editor. The first is by pressing the Use Snap button (or pressing the Y key). The second is by selecting a node, dragging a handle on the gizmo then holding Ctrl (Cmd on macOS) while holding the selected node.

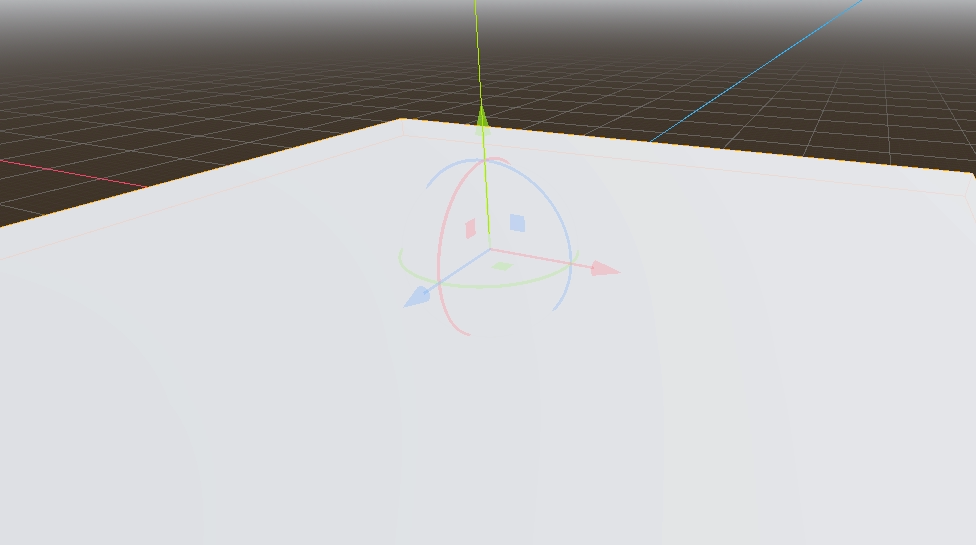
Comece ativando o alinhamento à grade com o método de sua preferência. Em seguida, mova o nó Ground usando o eixo Y (a seta verde no gizmo).
Nota
If you can't see the 3D object manipulator like on the image above, ensure the Transform Mode is active in the toolbar above the view.
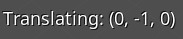
Mova o chão para baixo `` 1` metro, a fim de ter uma grade de editor visível. Um rótulo no canto inferior esquerdo do viewport diz-lhe quanto você está movendo o nó.
Nota
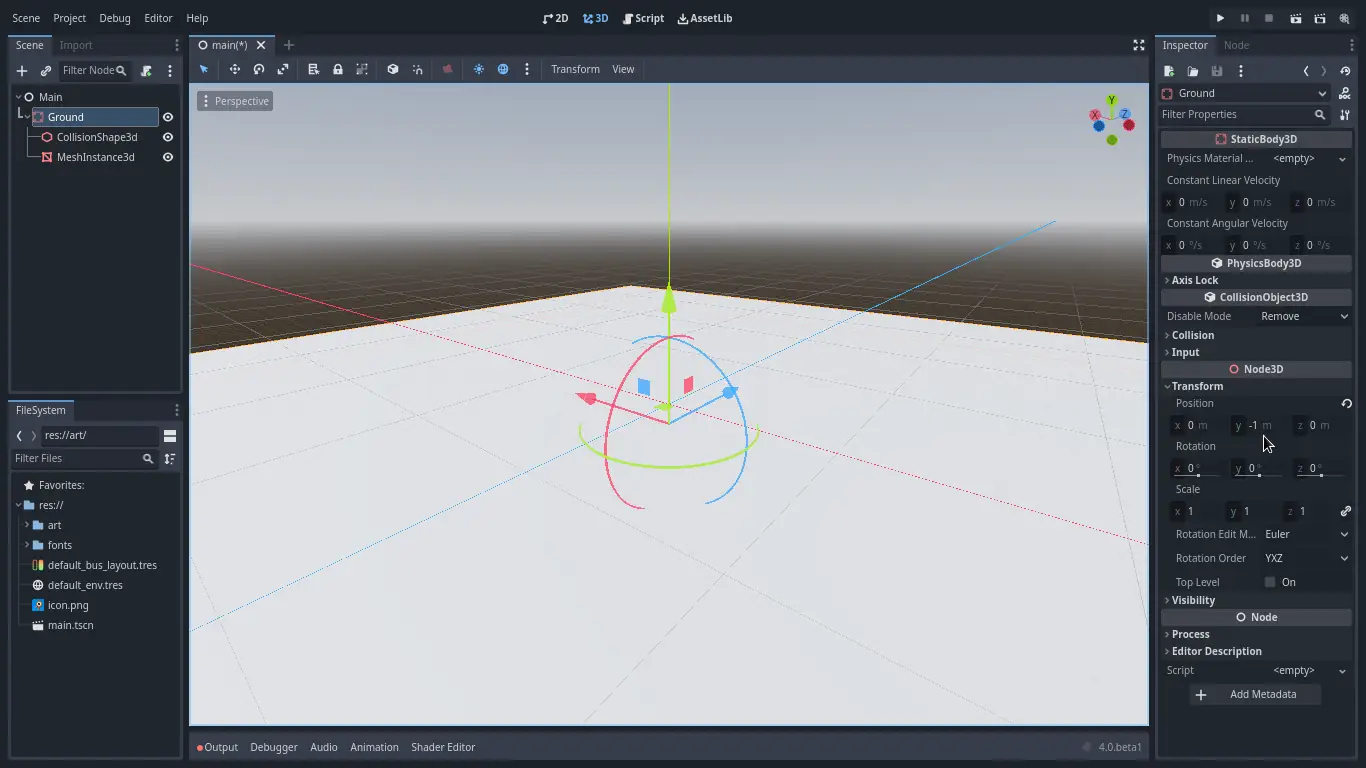
Moving the Ground node down moves both children along with it. Ensure you move the Ground node, not the MeshInstance3D or the CollisionShape3D.
Finalmente, a transform.position.y do Ground deve ser -1
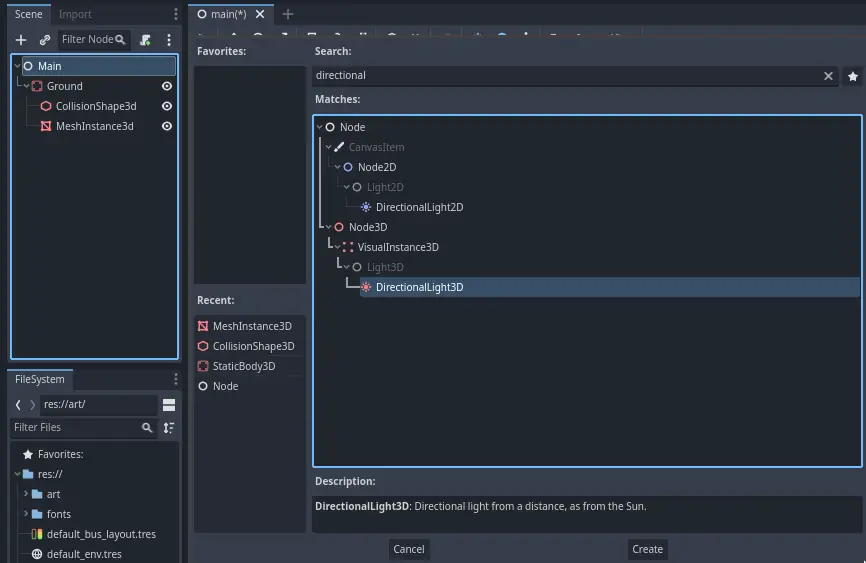
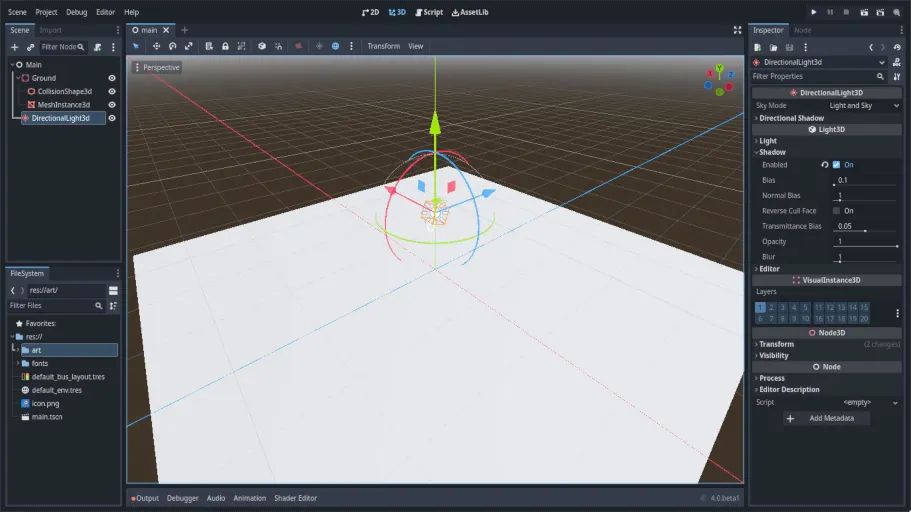
Vamos adicionar uma luz direcional para que a nossa cena não seja toda cinzenta. Selecione o nó Main e adicione um nó filho DirectionalLight3D.
We need to move and rotate the DirectionalLight3D node. Move it up by clicking and dragging on the manipulator's green arrow and click and drag on the red arc to rotate it around the X-axis, until the ground is lit.
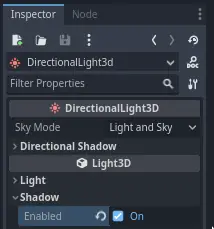
In the Inspector, turn on Shadow by clicking the checkbox.
Neste ponto, seu projeto deve se parecer com isso.
Esse é o nosso ponto de partida. Na próxima parte, trabalharemos a cena do jogador e o movimento da base.