Tutorial 1 - Unity scene
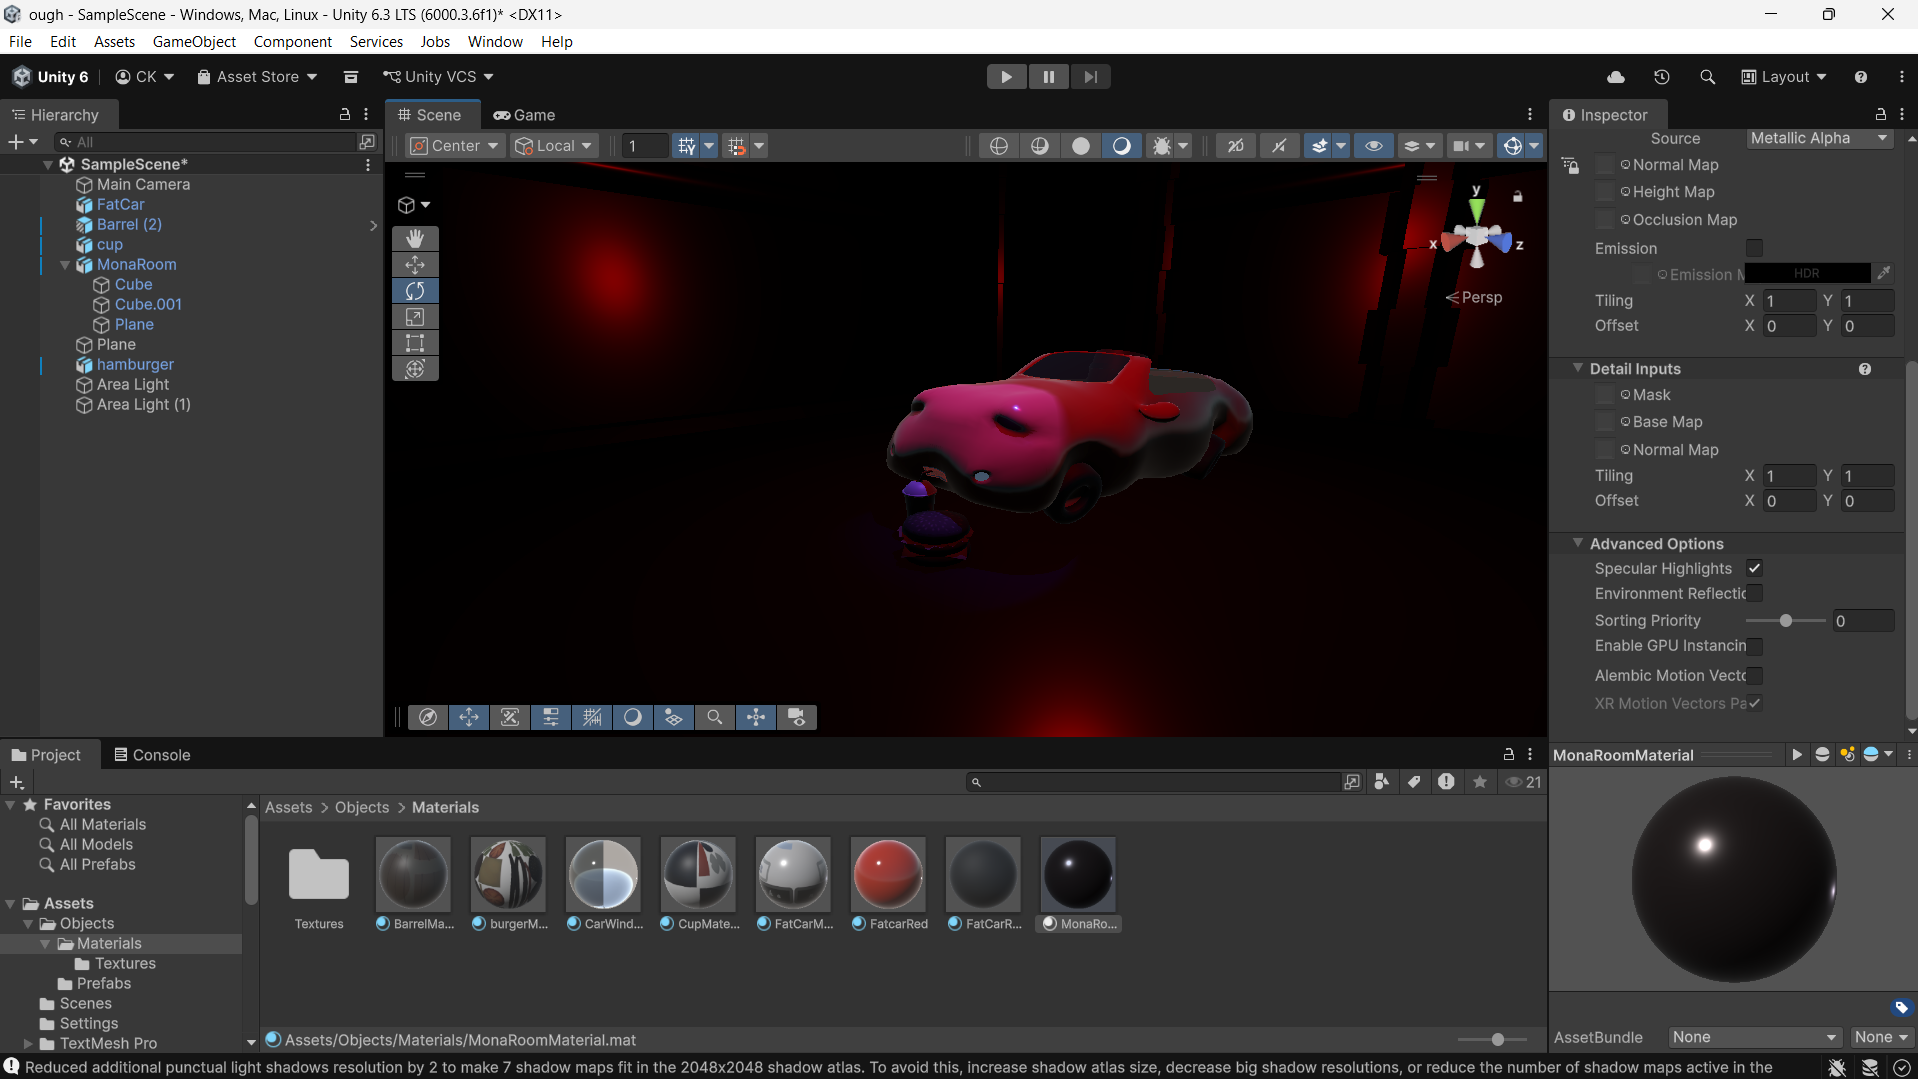
(Figure 1- My Fat Car model in the MONA-like scene I set up for it.)
For our first tutorial, were tasked with taking our tourist attraction models into unity and creating scenes for them.
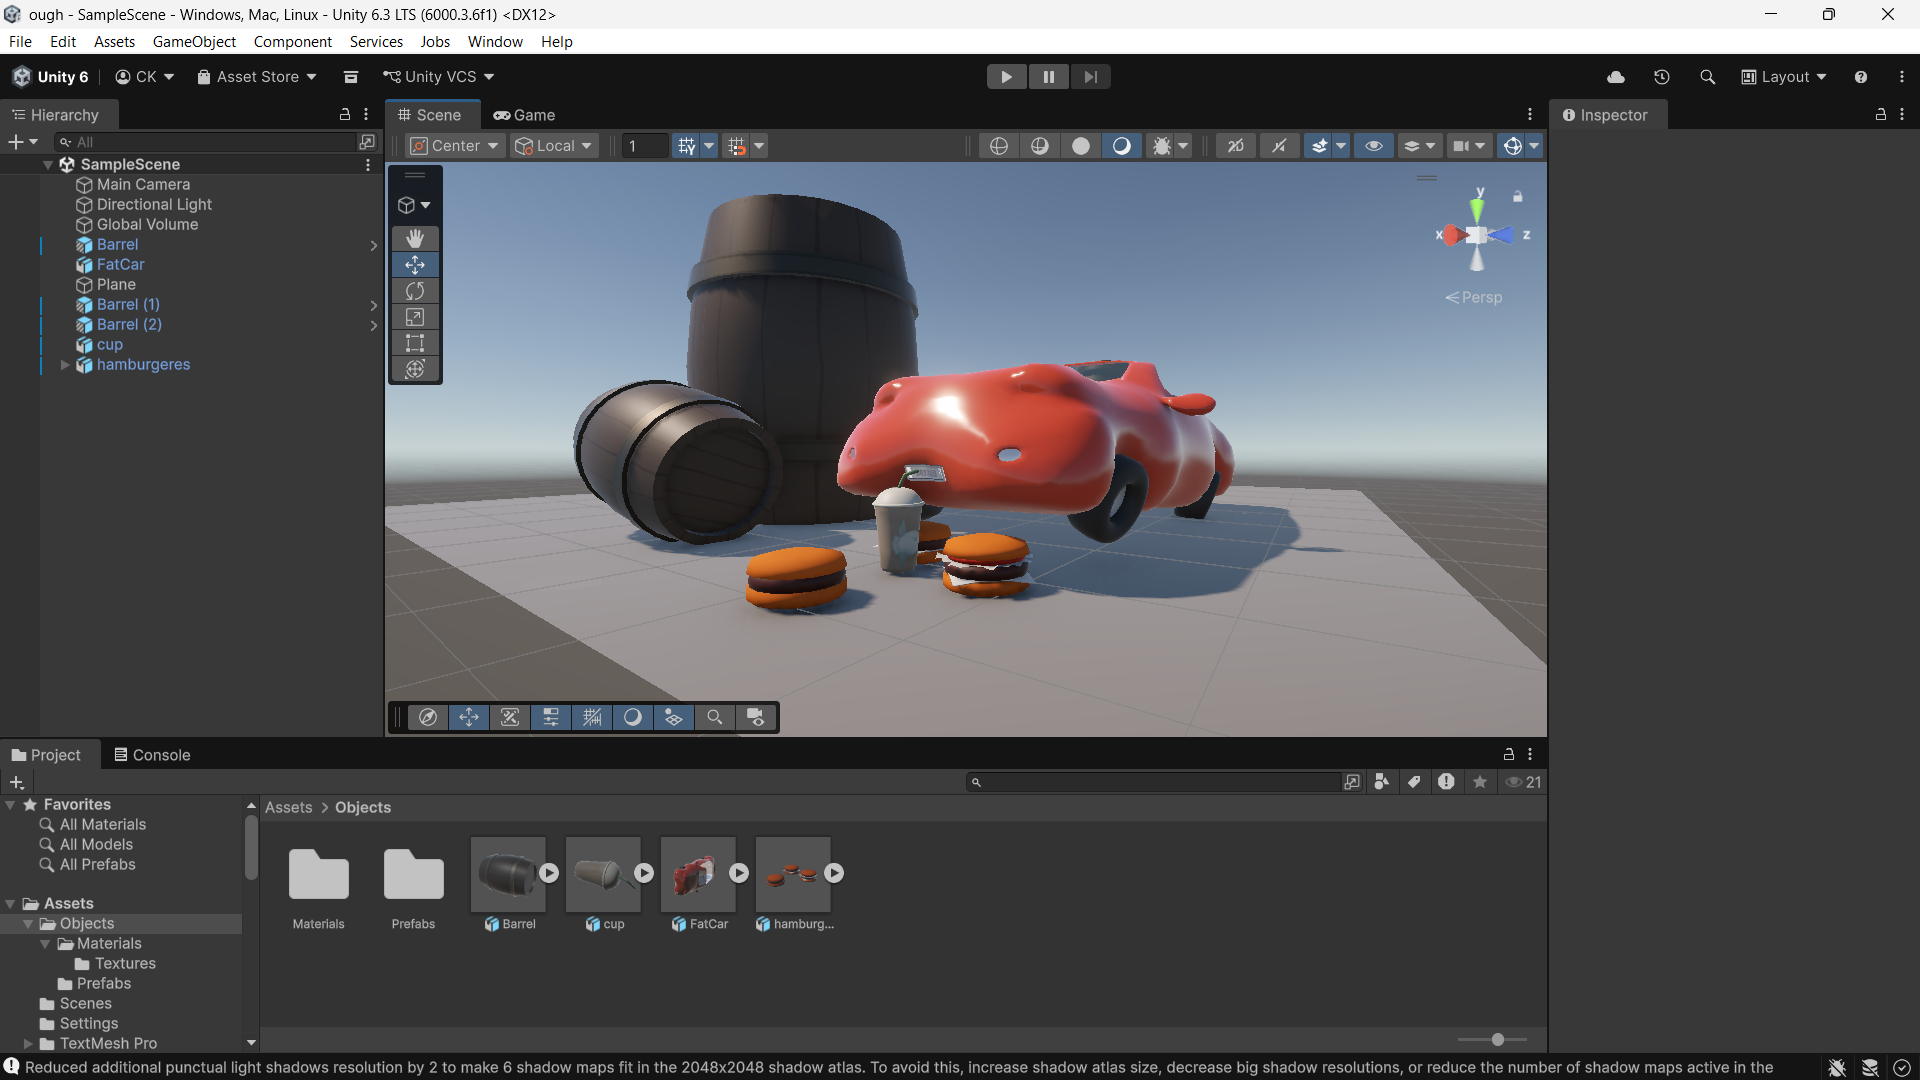
In order to place my Fat Car model into Unity, I exported it as an FBX model, then imported it into the Unity editor, setting up material files to keep the colours, textures and appearance of the car the same as they were in Blender. The barrel model was added to the scene in the same way, with Unity's prefab workflow used to create copies of the barrel that would each change with adjustments made to the barrel prefab object.
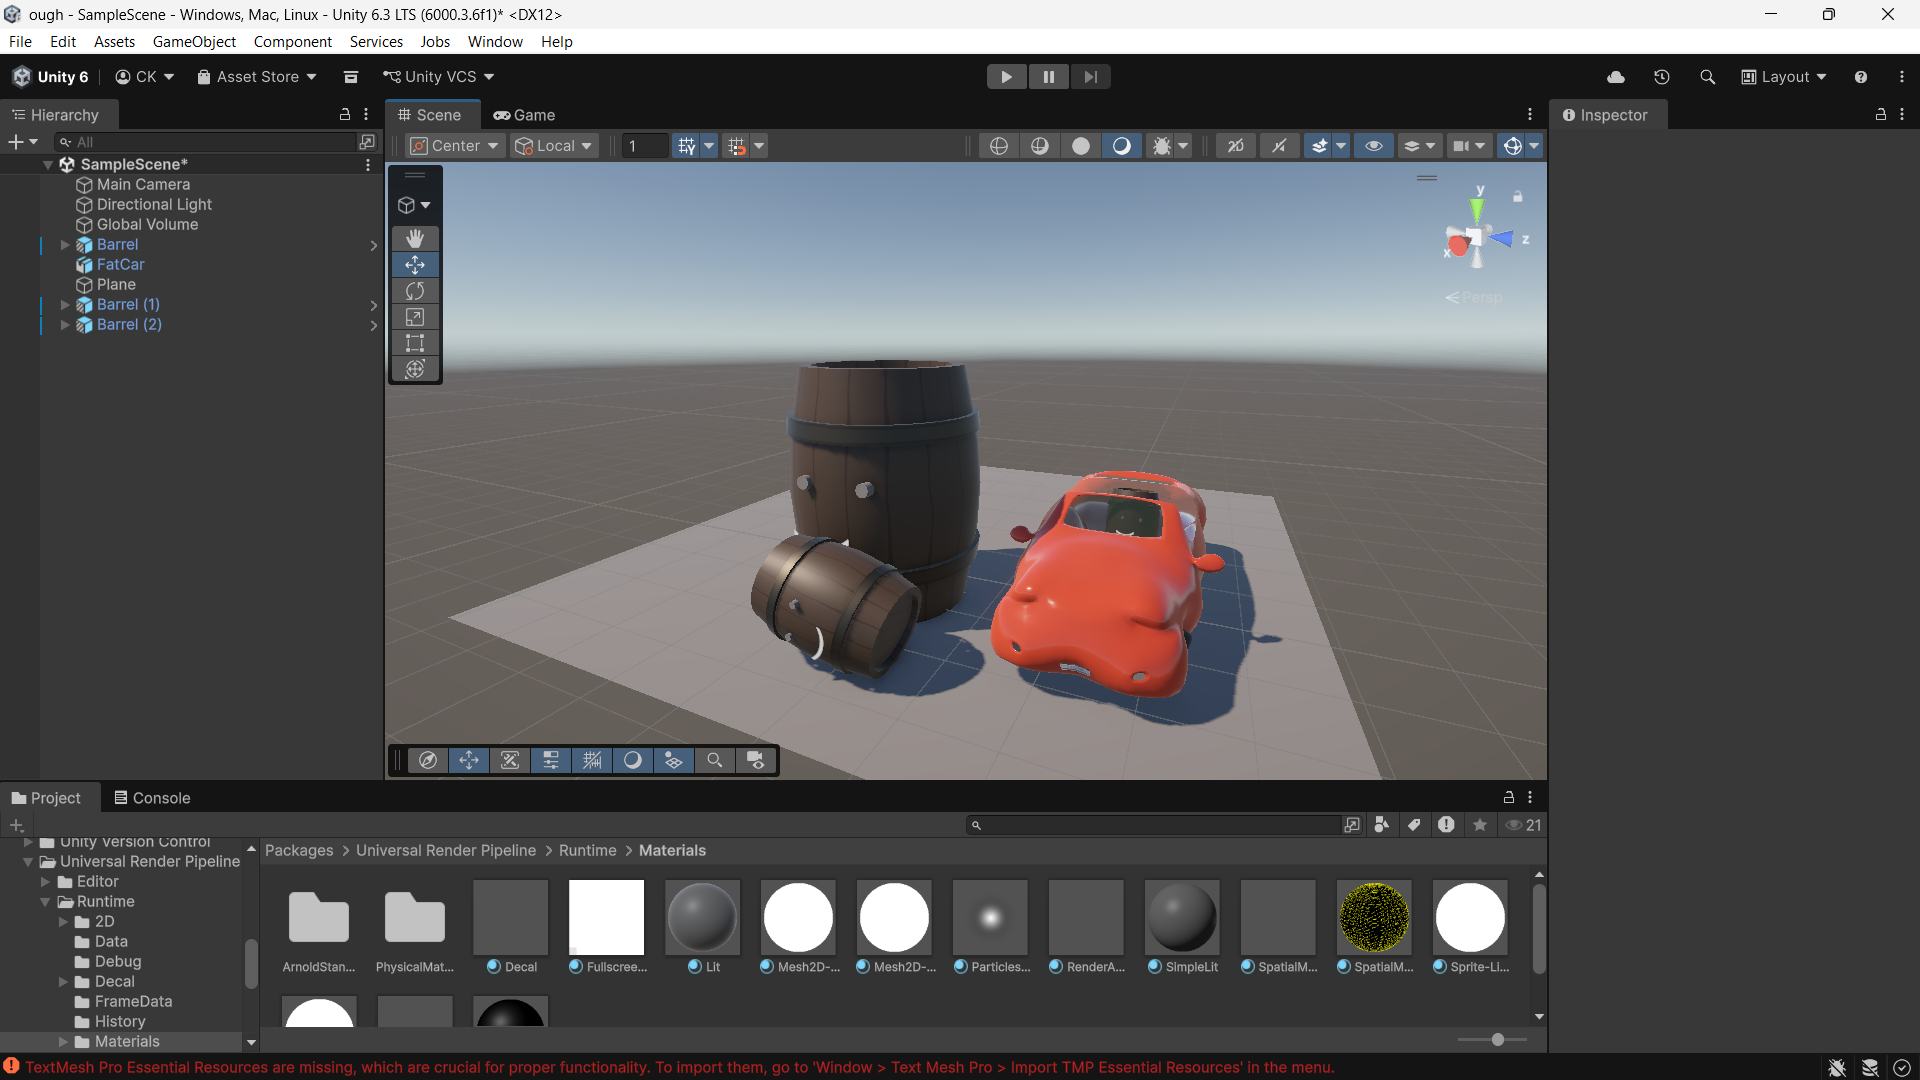
(Figure 2 - Fat Car in Unity, alongside a couple of barrel models with alterations made in their prefab.)
Past this point, we had free discretion to create a simple scene for our models however we wanted.
(Figure 3- Progress on my cup model in blender, including my created [shoddy] UV-mapped texture.)
(Figure 4 - the [unused] alpha map I made for my cup model.)
(Figure 5 - the bump map I made for my Fat Car model's plates.)
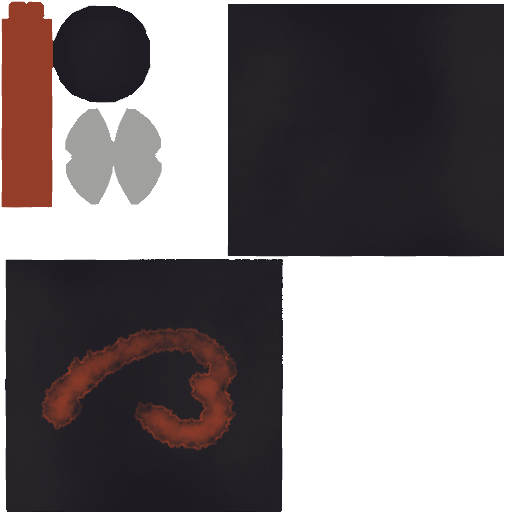
Wanting to test out the Blender-to-Unity workflow a bit more, I first made another model of my own, a drink cup with a mapped out texture. I originally hoped to test out material transparency and included an additional alpha map (an additional texture file that uses black to white values to show how parts of a model range from fully opaque to fully transparent). After importing, I found that there was no alpha/transparency/translucency field that I could directly plug this image into like I might be able to in Blender. Lacking a bit in time, I decided that I could look at the material system a bit more in depth later, and just work on fleshing out my scene for now. I was at least able to make a bump map (similar to an alpha map, but black/white represent a part of the texture appearing embedded or extruded from the object) for the car's number plates. The height map worked pretty much as I hoped it would, though I'm sure if I learned more about creating custom normal maps, it could look much better.
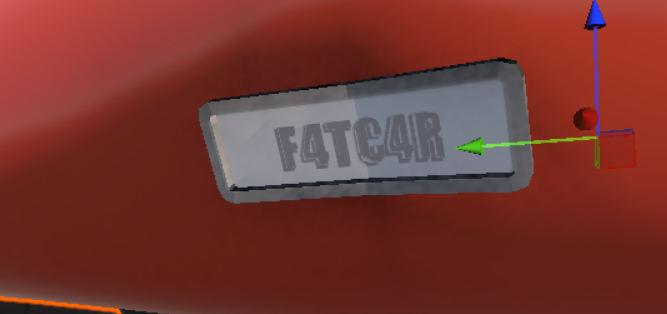
(Figure 6 - The Fat Car's number plate being affected by my bump map in Unity.)
Tip - bump maps and normal maps are both additional textures used on a model, to create the appearance of bumps or changes in texture/height across a surface, where there is no change in the model. Generally, normal maps allow for finer detail, and more accurate depiction of changes in shape than bump maps, but are much more complicated in terms of placing colour and creating the map itself.
(Figure 7 - burger and drink models inside my Unity scene.)
To try out using a premade, downloaded asset, I took a model from Turbosquid - Hamburgers by user enrylarsen - and imported it into my Unity scene (Figure 7). I wasn't quite satisfied with the look of the burgers in context, but luckily they came with a blender file that I was able to open up and edit the model in (Figure 8).
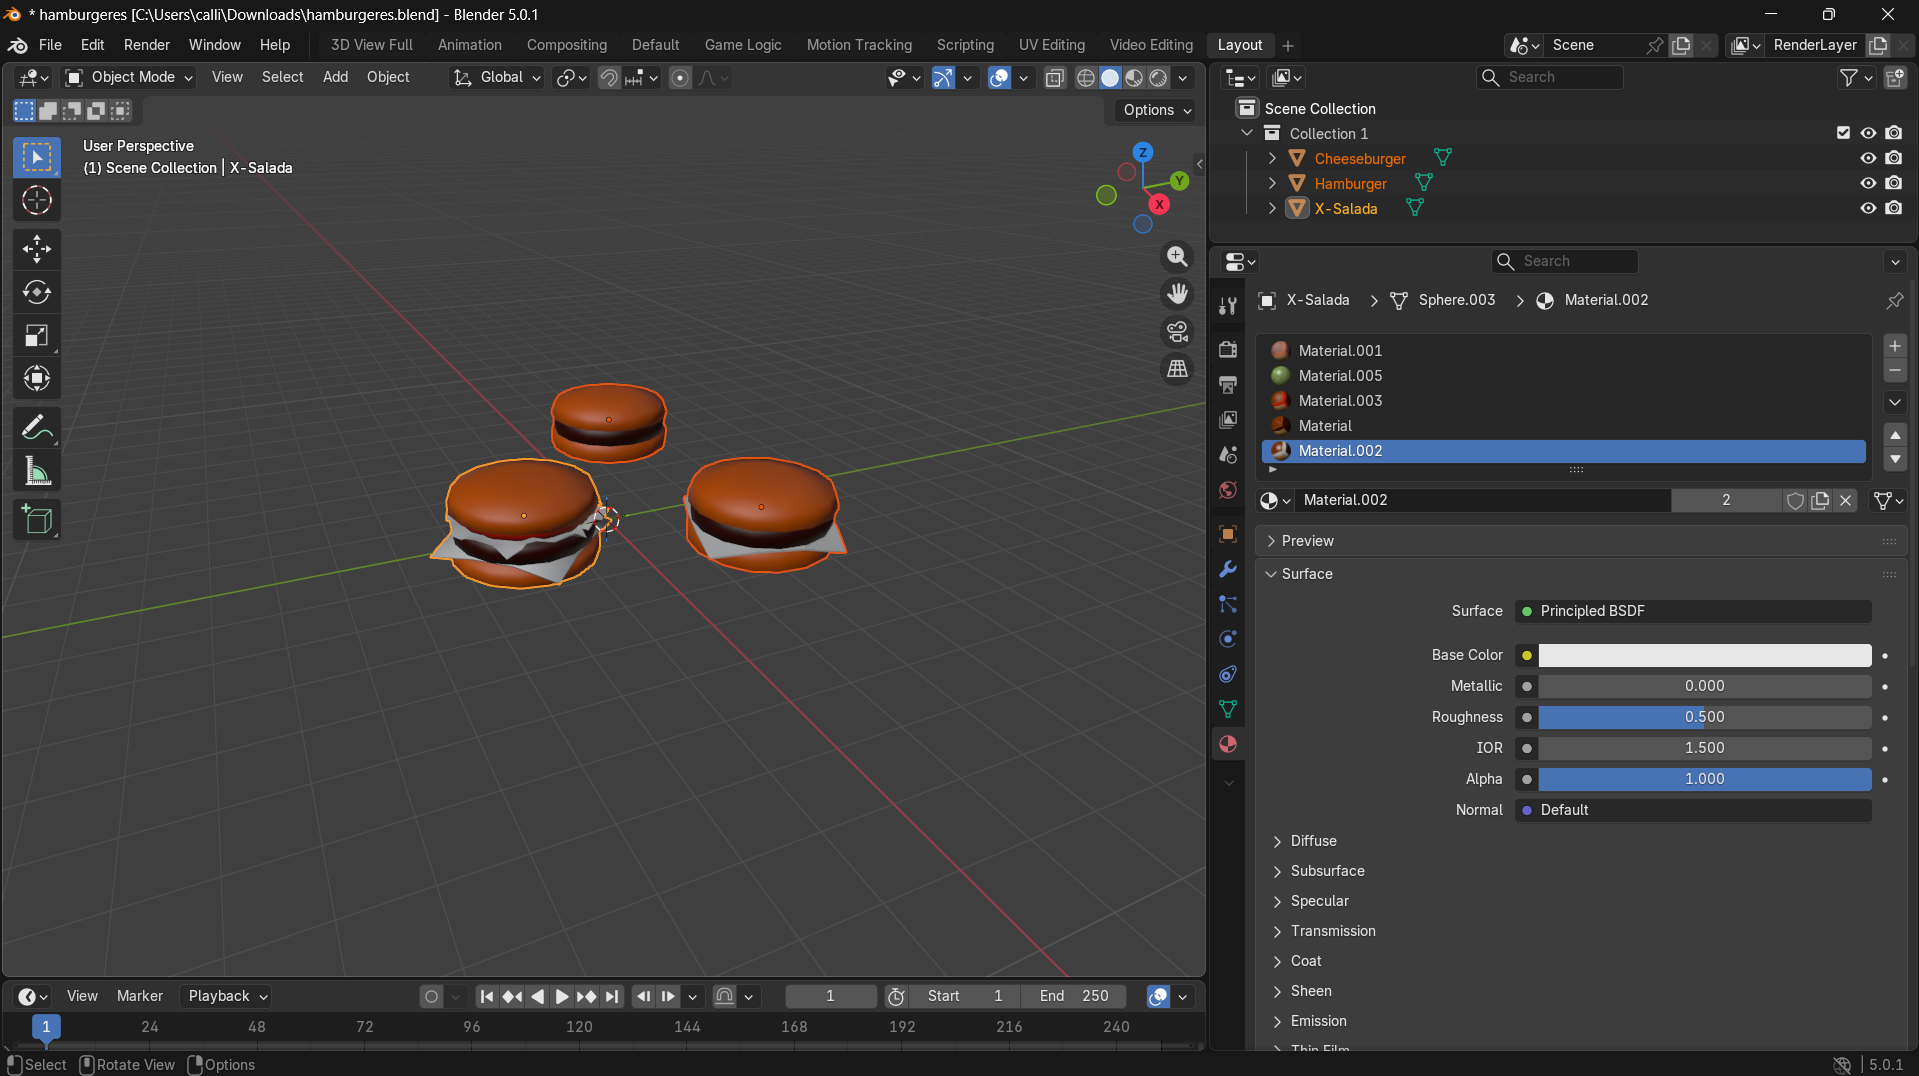
(Figure 8 - the original burgers model by enrylarsen in Blender).
(Figure 9 - my freshly ;) UV-mapped burger in Blender.)
(Figure 10 - My edgy black sesame-style painted burger texture.)
(Figure 11 - My new and emo-ified drink cup texture.)
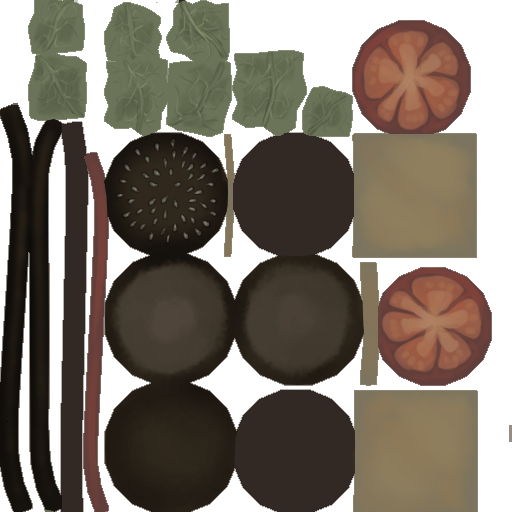
Opening up the burger model, I was surprised to see that each element of the burgers were textured using seperate materials (You can see this in the right sidebar in figure 8). Given this, my first step was adding seams to one of the burger models for UV unwrapping (figure 9), then taking a texture image I made by blocking out UV map sections into Clip Studio and painting a somewhat less appetising, more artsy looking burger texture (Figure 10). While I was already at it, I made a new texture for the cup model to match (Figure 11).
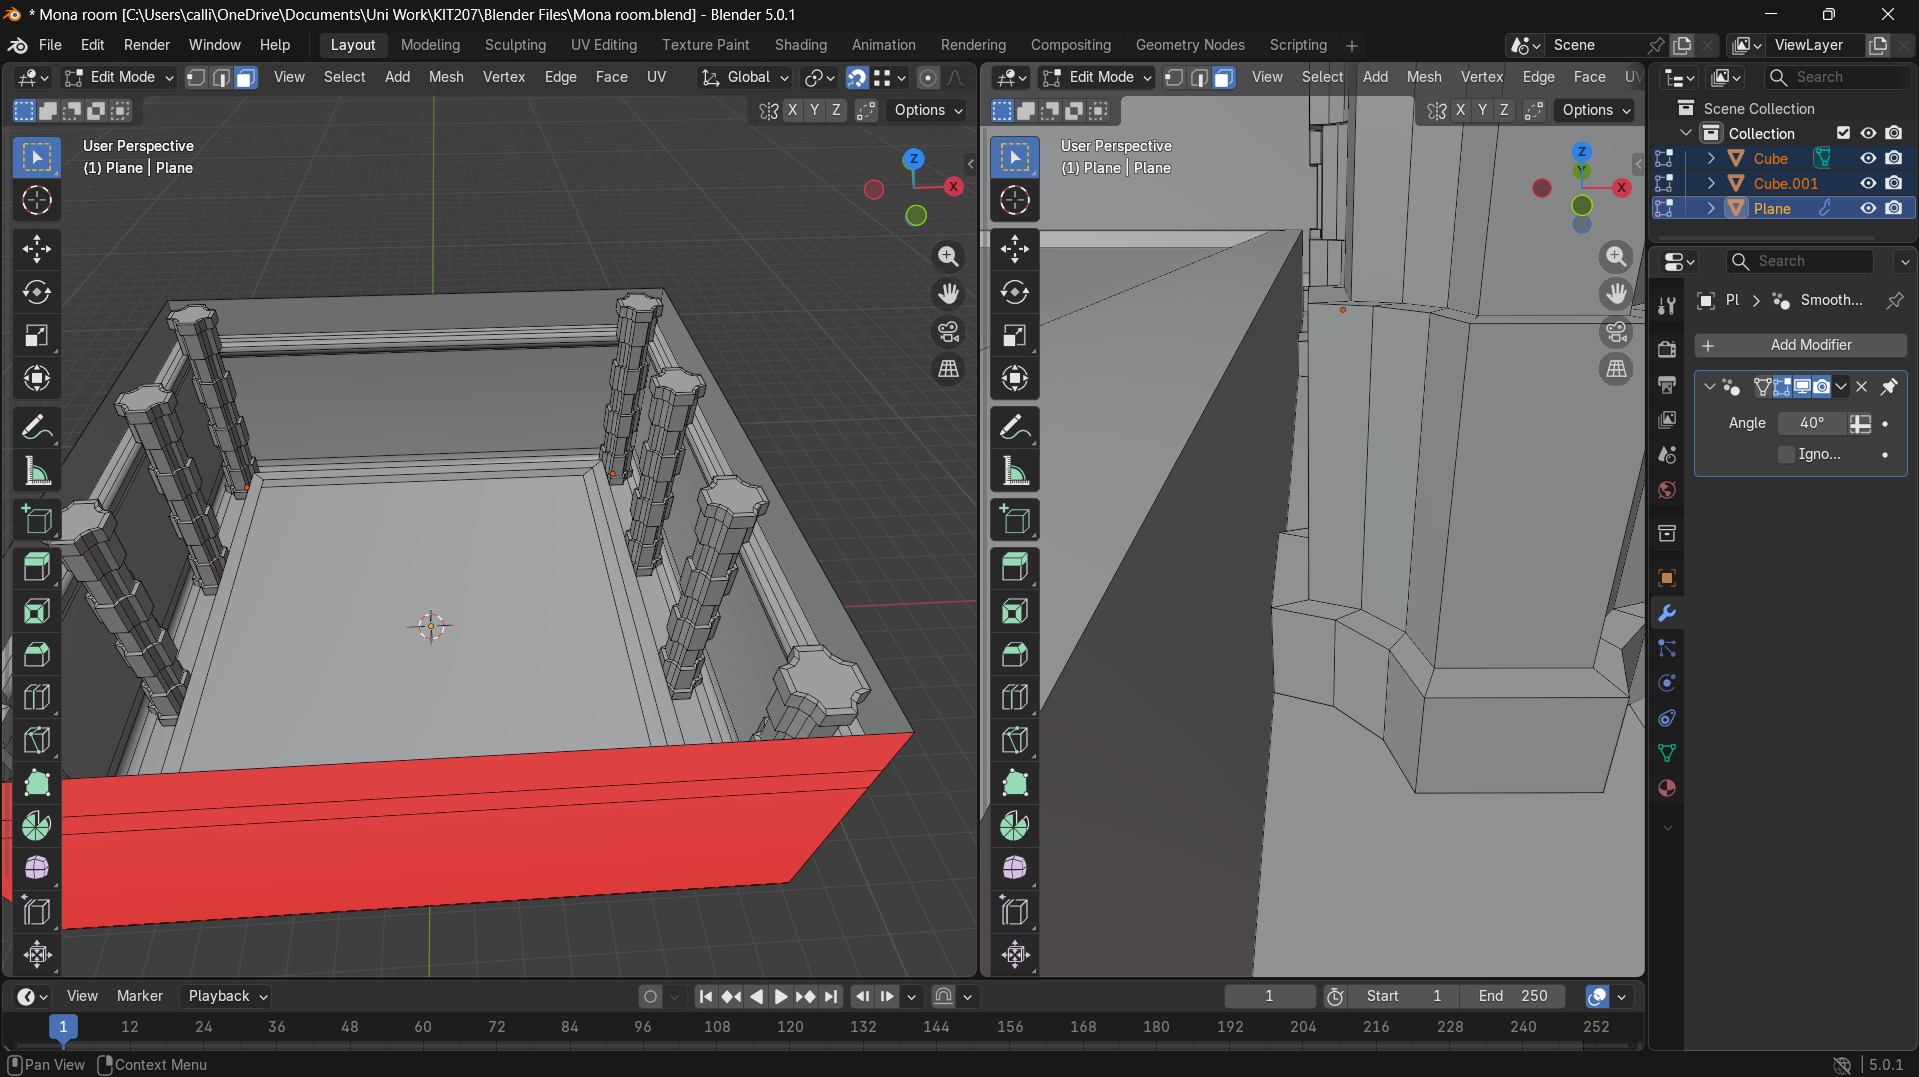
(Figure 12 - Progress on the MONA style room in Blender.)
Finally, I set my car within a room styled to look a bit like MONA. In modelling the room, I tried to pay attention to unnerving design choices, like divots in the wall, pillars and floor, as well as using tangents (places where objects line up perfectly, in a sort of unnatural way, you can see this in how the pillars align with the floor divot in figure 12) for a harsh, designed edge. Lastly I imported this room into Unity, created a custom, shiny black material to "paint" it with, set up lighting and render settings and finally had my finished scene. (Figures 13, 14)
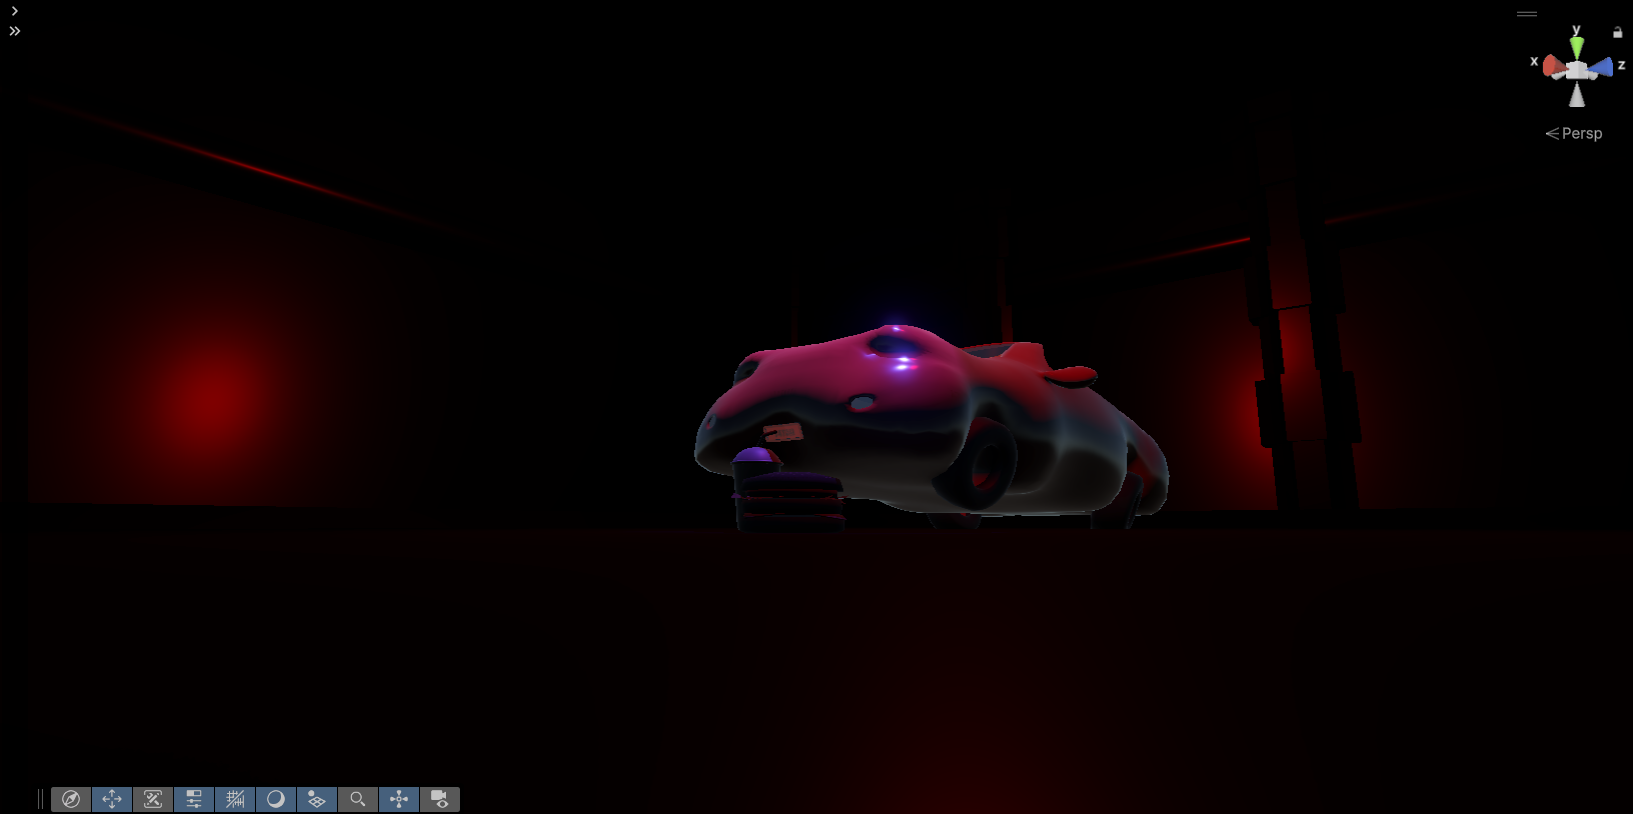
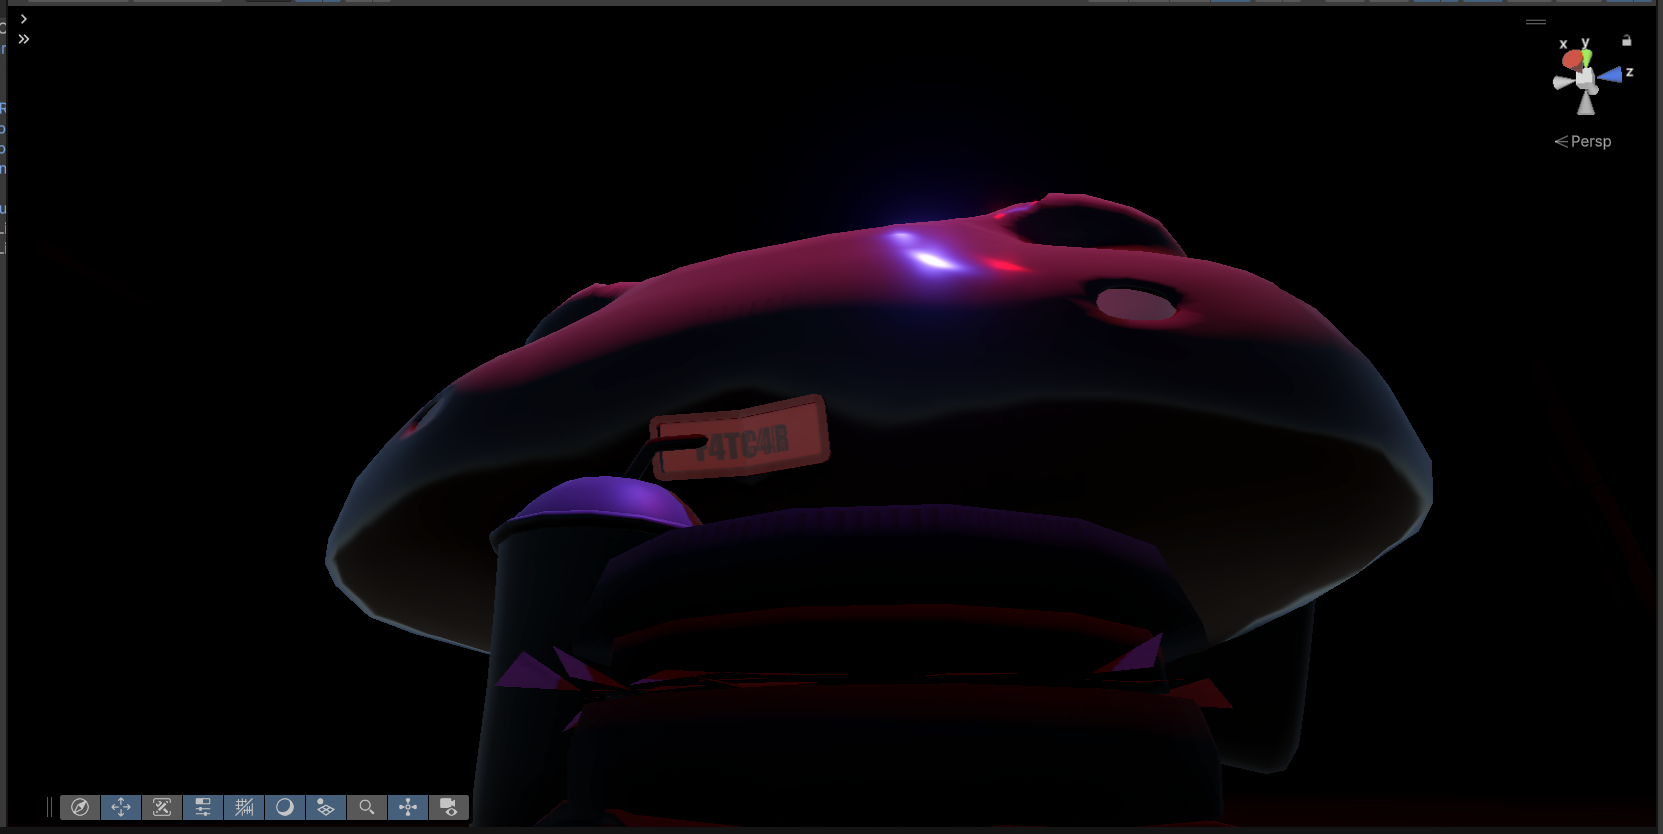
(Figures 13-14 - My scene fully set up in Unity.)
Tip - a basic method of darkening your scene in Unity: Go into Window->Rendering->Lighting, then click "Environment", set environment lighting source to "Colour" and change said colour to something dark. (Figure 15)
(Figure 15- the Lighting window with settings changed for a dark setup.)
In my case, I might have set my scene lighting too dark - it looks fun on a bright screen, but unreadable on a dark one.I'd like to work on lighting for different views as I go forward.
Burgers by enrylarsen - https://www.turbosquid.com/FullPreview/1362306
Leave a comment
Log in with itch.io to leave a comment.